


Three of Four Sensors Were Dead: Skopje's Vodno Cable Car Ran Fifteen Years Without a Real Service
17.09.2026


17.09.2026

17.09.2026

17.09.2026

17.09.2026

17.09.2026

17.09.2026

17.09.2026

16.09.2026

15.09.2026

17.09.2026

17.09.2026
16.09.2026

17.09.2026
17.09.2026

17.09.2026

17.09.2026

16.09.2026

15.09.2026

17.09.2026

17.09.2026

17.09.2026

17.09.2026

17.09.2026

17.09.2026

09.03.2026

27.02.2026

19.02.2026

23.04.2026

23.04.2026

12.04.2026

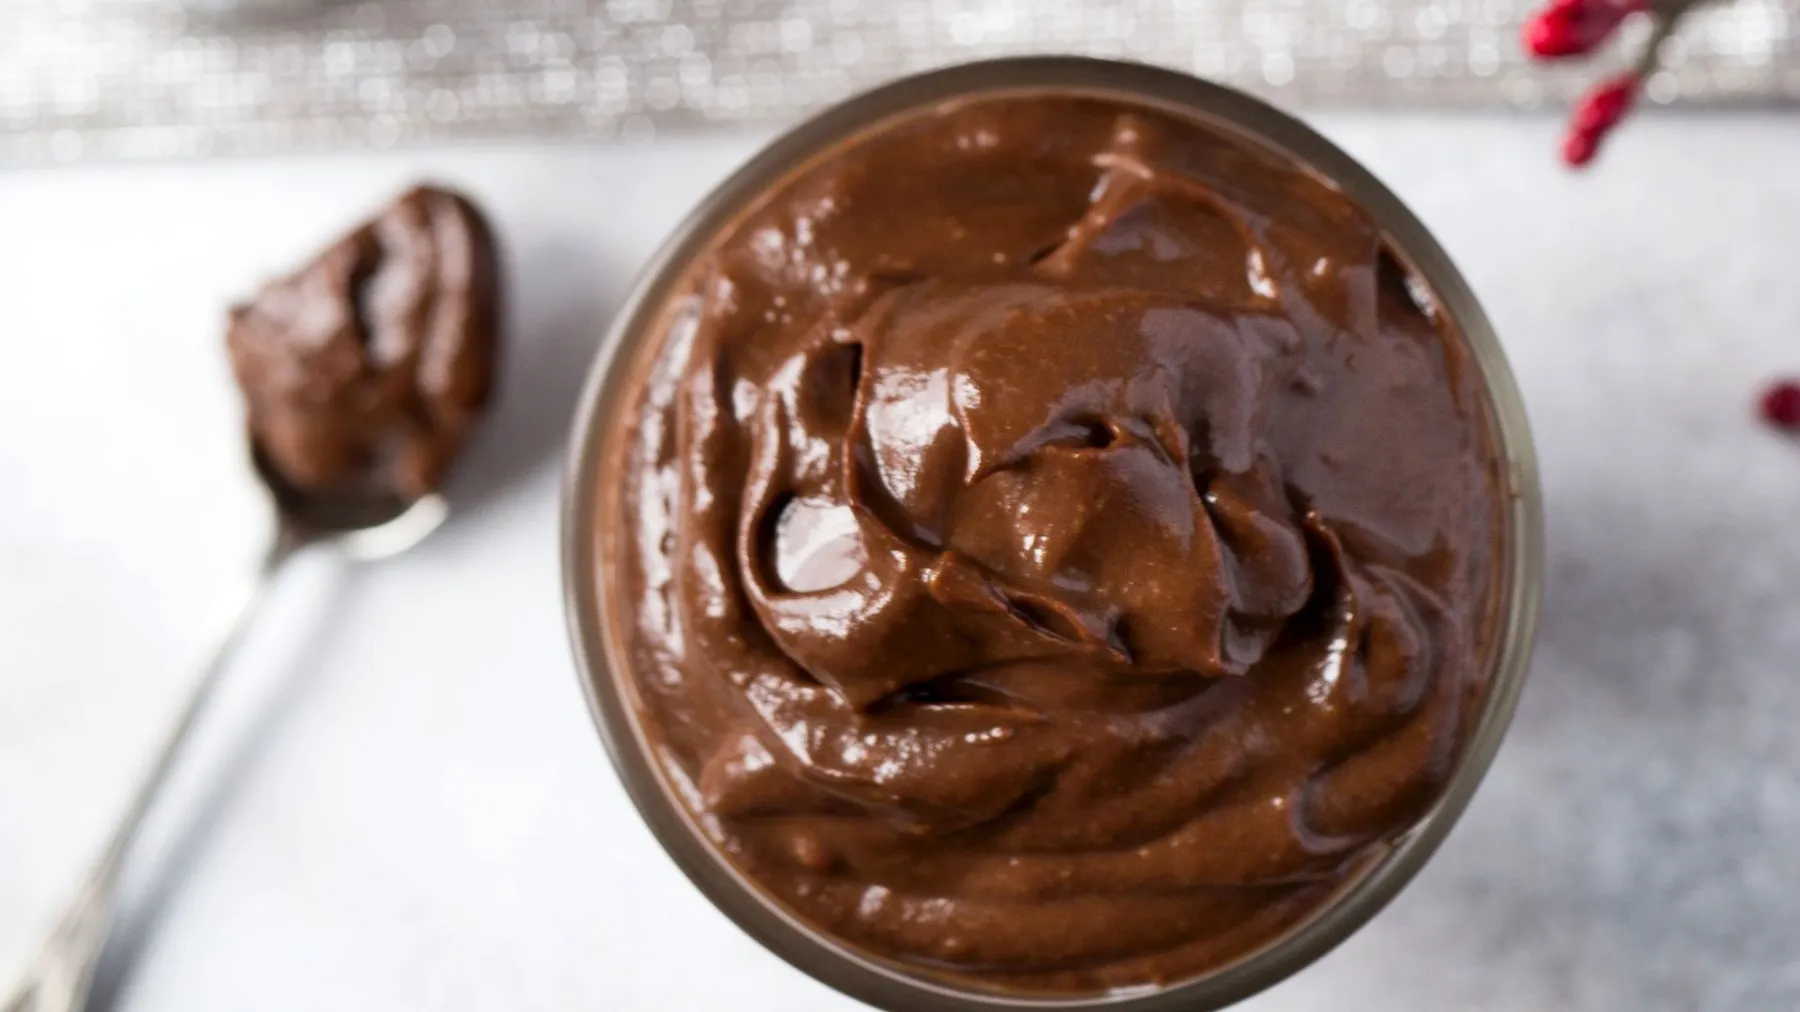
When we hear „pudding", the first thing that comes to mind is a sweet. But in seventeenth and eighteenth-century English cooking the word also meant savoury dishes. The chocolate pudding as we know it today was popularised much later, when cocoa powder and cornstarch became common ingredients. Today it is an international dessert: simple, rich and perfect for the hottest days, since it is served cold.
It is a dessert with a smooth, dense texture, similar to a firm cream. Stable enough to eat with a spoon, and yet silky. The base is milk, cocoa or chocolate (this is worth investing in quality, since it is the main ingredient), sugar and a thickener. Most often that is egg yolks, gelatin or, most practically, cornstarch.
Cornstarch is a favourite in confectionery because it thickens liquids quickly and easily. In chocolate pudding it gives a creamy, uniform texture without the need for many eggs. In fact, in many modern recipes cornstarch completely replaces the yolks - and the result is just as good.
For a dish of four to six portions you will need: 500 ml full-fat milk, 100 g sugar, 30-40 g pure cocoa powder, 40 g cornstarch, a pinch of salt and, if you like, a teaspoon of vanilla and 20 g of butter for shine. The process is simpler than it sounds, and the trick is in one step most people skip.
First mix the dry ingredients while the pot is still cold - sugar, cocoa, cornstarch and salt. That is exactly what prevents lumps from the very start. Then gradually add the milk, stirring constantly with a whisk until you get a smooth liquid mixture, and only then put it on medium-low heat. Within a few minutes it will start to thicken; when it bubbles a little, it is done. Take it off the heat, add the vanilla and butter, and pour into small moulds.
The last detail: cover the surface with cling film that touches the mixture, so it doesn't form a skin. Leave it to cool, then into the fridge for at least three to four hours. The final texture should be firm but creamy. Neither expensive nor complicated - just a little patience and a cold chocolate dessert that looks like it came from a restaurant.
The latest 10 news from this category
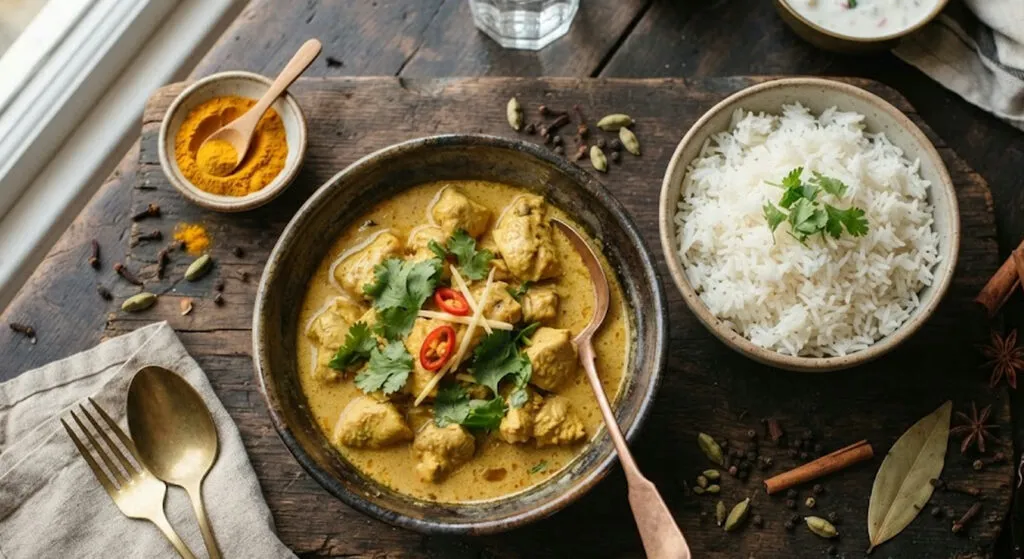
Home-made chicken curry fails at the same point for everyone. The difference is made by one step that has nothing...

Jose Andres has lived in America for over thirty years, and when asked for his favourite American dish he named...
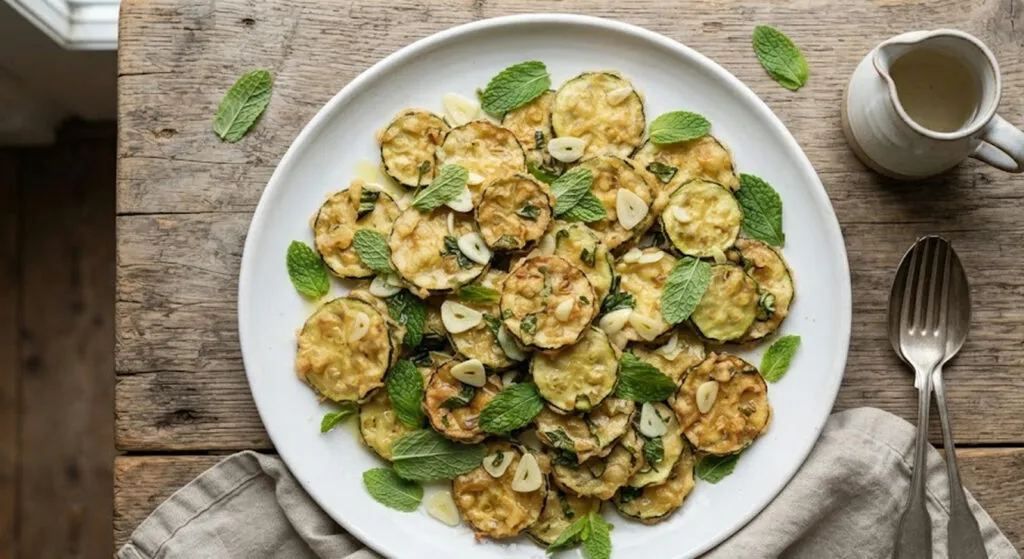
A kilo of courgettes, mint, garlic and eighty millilitres of vinegar. Not one expensive ingredient - and the water you...
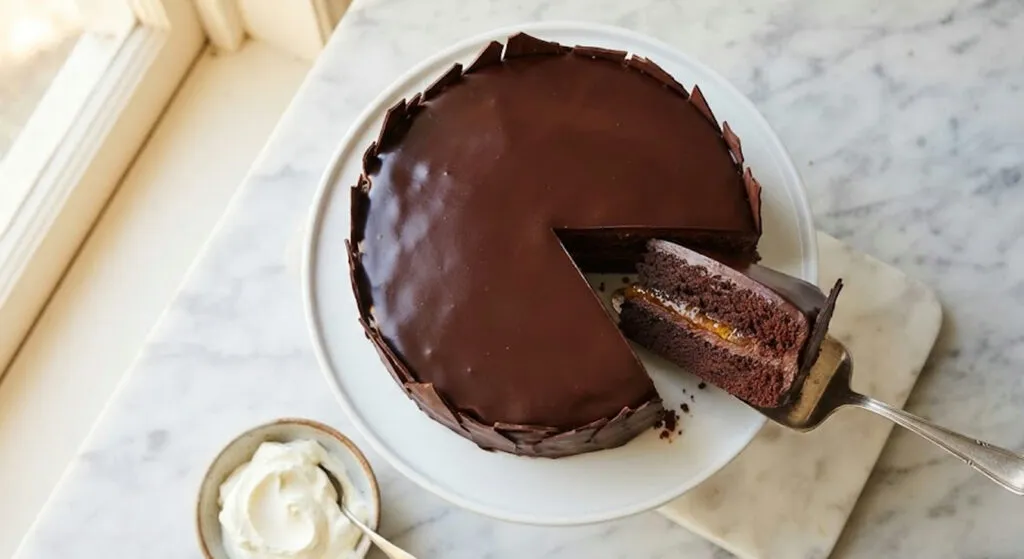
Whoever beat all the eggs together made a different cake. And the glaze must not pass 45 degrees, or the...
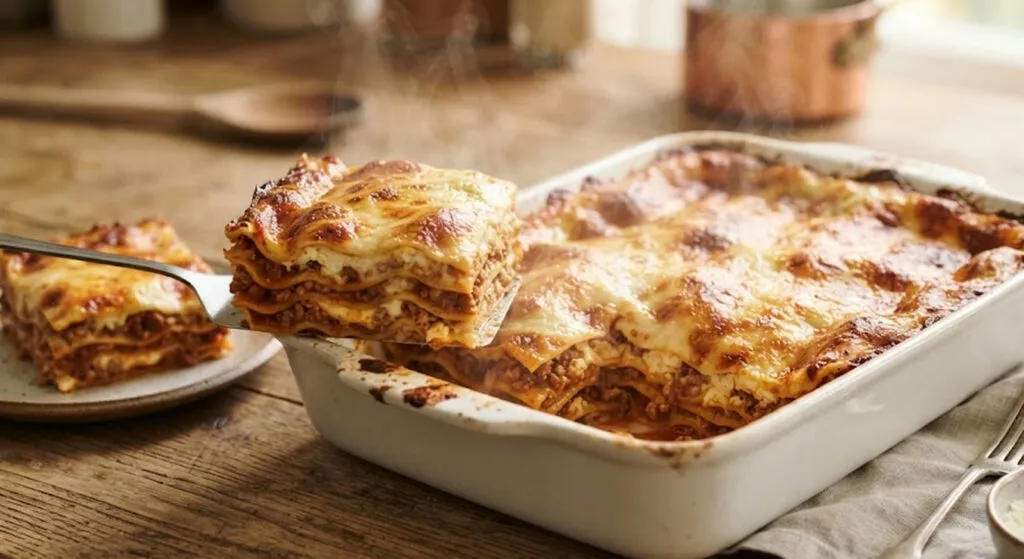
One rule applies to all three and it is the one most often skipped. It is not a recommendation to...
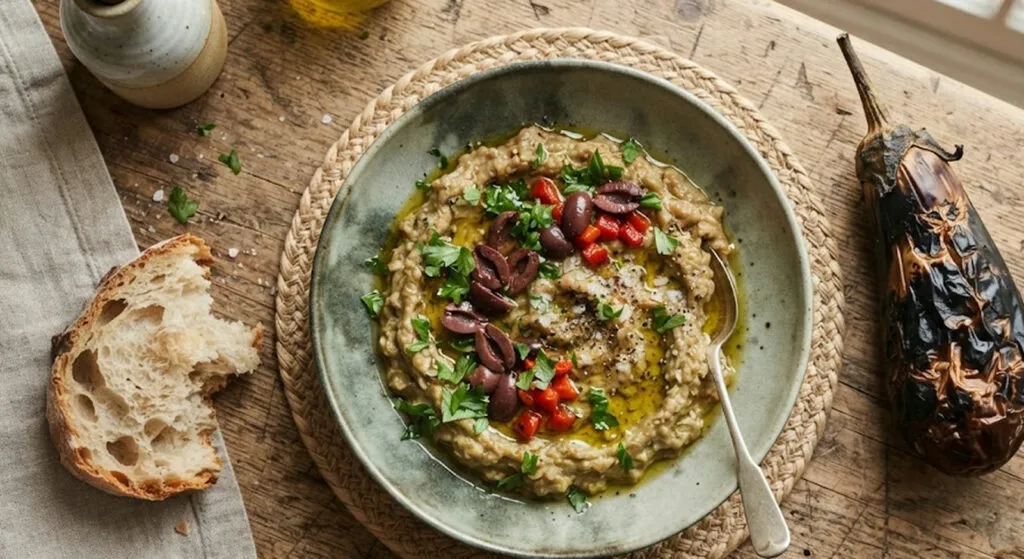
One single ingredient separates melitzanosalata from mutabal - tahini. Three aubergines, one clove of garlic, and an oven at 220...

The chicken ends up in the pan anyway. The salad that was sitting half a metre away does not.
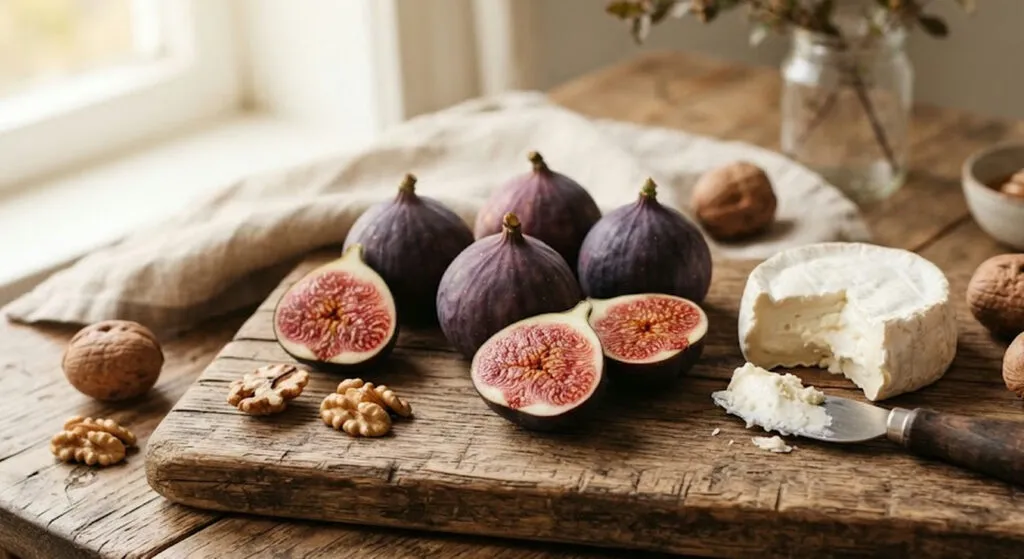
This year the season started as early as August because of the heat. From breakfast to pizza - everywhere a...
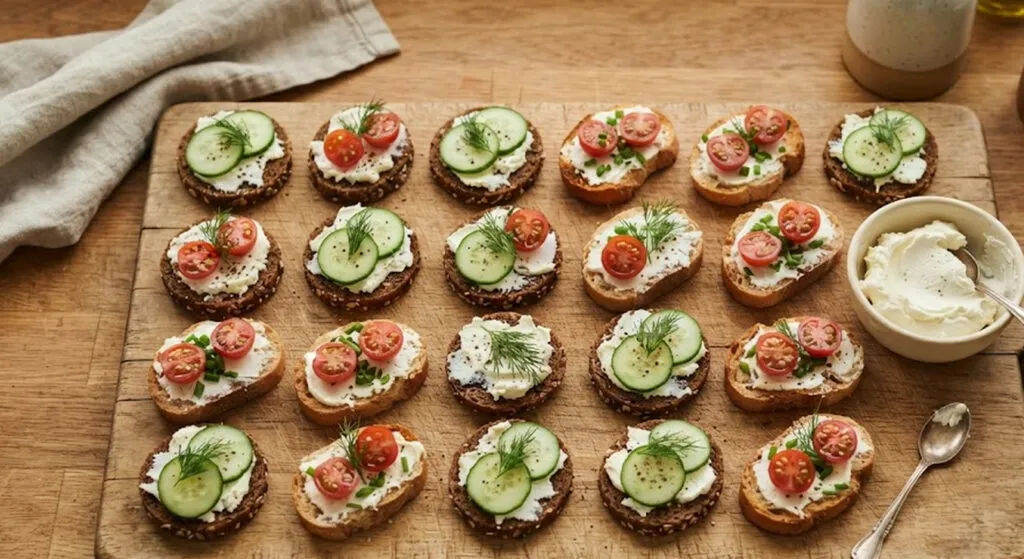
The recipe is not hard, the temperature is wrong. Ten cream cheese canapés and the two rules without which none...

The image of boiled chicken breast is wrong. The indulgence is planned, not broken.
This site uses cookies - is that okay? Learn more
Be the first to know when Metla launches something new
Leave your email and we will write when there is a new guide or something new on Metla.